I jailbroke my mac
Pinokio creates a self-contained virtual computer via an app that uses the cpu, ram, hard drive, etc of your real computer. Once installed, it provides a Discovery tab of available repos from github - in other words, an AI Browser.


It was easy. You can do it too - on a mac, windows or linux machine. That may sound wild, so let's back up a bit.
If you are interested in AI and want to get a sense for the absolute bleeding-edge technology there's one primary source for active projects with code you can actually use:

That's right. The Github "trending" page shows you the repositories (code bases) that are getting the most attention. At the time this post is being written, it is a Generative AI project called StableCascade which is growing more popular for allowing a much more efficient text-to-image generation (allowing it to run on more consumer hardware).
The Open Web Longs to be Free
Here's the catch. Let's say you want to give this futuristic-sounding app a try. Well, buckle up because you're going to need to open your terminal (the old-school command prompt) and get very comfortable with commands like, git, conda, pip, nvm, pytorch, the list goes on and on.
Any developer knows the pain of needing to completely start again with your local environment (that's the development software required to run these apps) and losing entire days of productivity troubleshooting a particular version of a node package.
Some are calling for the indie web to do better. I totally agree and really think Molly White summed up the problem succinctly:
When you start saying the words npm install you've gone too far.
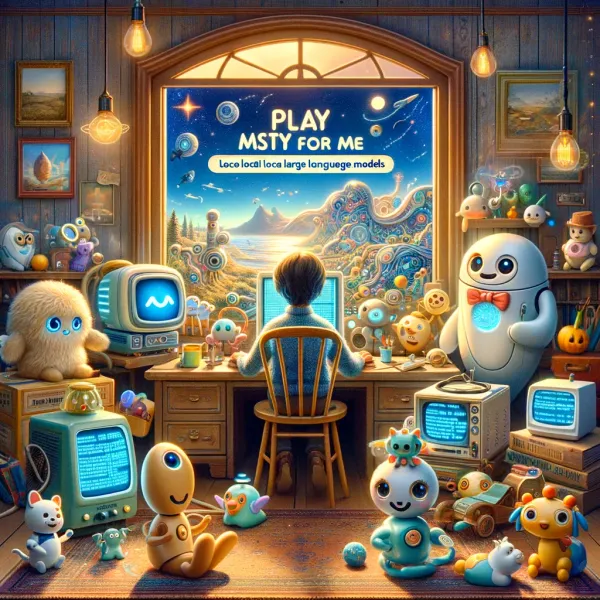
The AI Browser
Enter a new app I was blown away by this week. It's called Pinokio and is described as an "AI Browser"
Essentially, Pinokio is an app that creates a virtual computer that exists in the app and can use the cpu, ram, hard drive, etc of your real computer. This virtual computer is self-contained and installs all of those minimal requirements inside the virtual computer app. Once you're setup Pinokio has a Discovery tab of available repos - in other words, an AI Browser.
Caveats and Caution
The setup process is different for Mac users from a normal app in 2 ways - both of which are because the app requires elevated permissions in order to function. You are going to have to confirm the installation in your security>privacy settings as well as run a small script that will open a terminal window. There you'll need to enter in your main computer password.
Casual users, be warned: this is ONLY something you should undertake with an app and developer you trust. We're taking away most of Apple's safeguards, which with malware, would be dangerous. As we make the indie web more accessible, realize that it's not a safe "walled garden" any longer. If you're unsure about something like this, follow best practices and never install anything on your primary/production device.
One final bit of caution: If you have never installed these developer tools or an open-source model, you should be aware that, at a minimum, an M1 or newer Mac will make using any of these AI bots much easier.. Additionally, many AI models can be 7-15GB so you'll need hard drive space. Especially when testing image or vision models, this eats up the space quickly - and if you're thinking an external hard drive is an easy expansion - well - I have a different article that needs to be written about the importance of making that decision.
It's Go Time
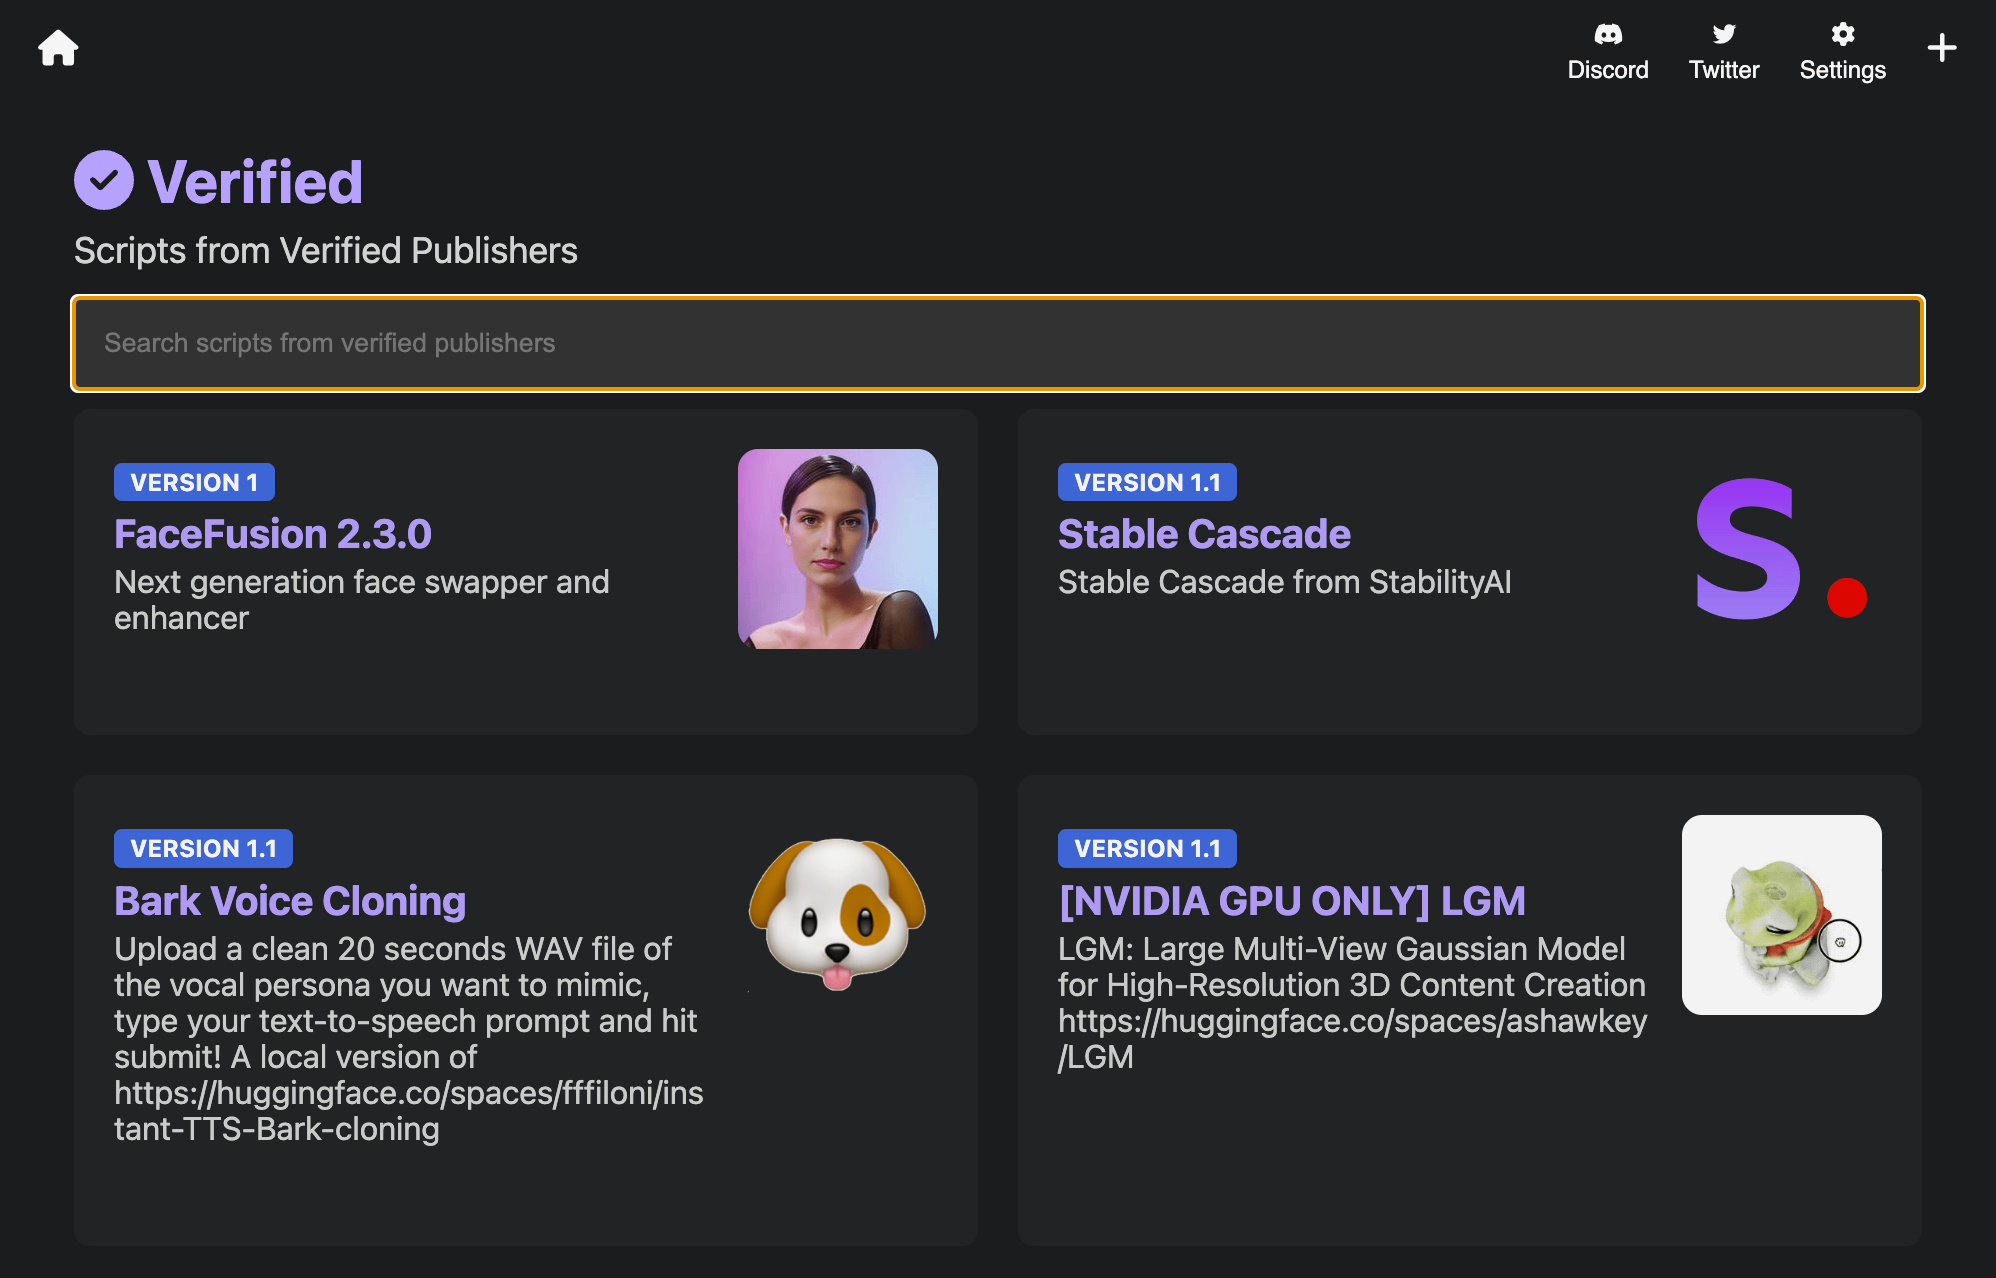
Throwing all caution to the wind and embracing the free spirit of the indie web, we can load up Pinokio, and as we go to the Discover tab to start browsing, what do we see? Well, the same StableCascade repo that's currently at the top of Github!
I've used several different diffusion models and I tend to stick with Dalle because it does good enough for my uses (mostly featured blog images) and it's connected to ChatGPT which I'm using frequently. Most open-source models require quite a bit more work to produce the same quality and walking through models, checkpoints, and LoRas is outside the scope of what we're doing here.
I spun up StableCascade and gave it a simple prompt and it got to work. At first it looked like chaos, but by the time it was completed, I had something that was decent enough.
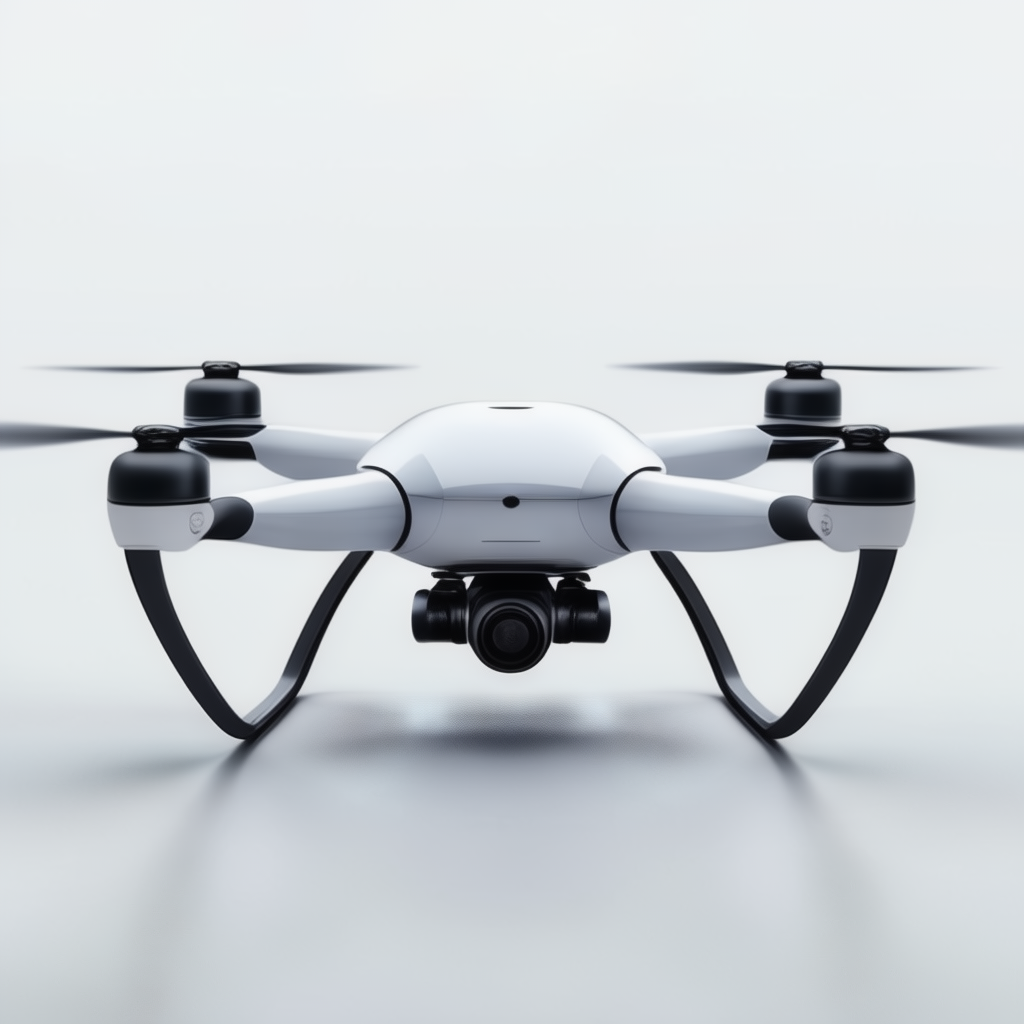
Prompt: A new apple product - a futuristic quad drone with onboard AI called the apple air pro
Not bad! I used all of the "out of the box" settings. No configuration. Once StableCascade was running, I simply typed up my prompt and got the output above.
Accessibility Equals Impact
What Pinokio is doing is making the latest tools, apps, and demos available to anyone. While there are other virtual machines available and projects like docker, the ease of a single-click install is unmatched. What happens now that a hobbiest developer can write some code, publish it to github, and may be installed nearly universally across computers? It's a truly fascinating moment.
Looking Ahead
The real magic that happens here is the simple scripting that works as a "shim" of sorts so that specific repos can be run inside of Pinokio. While there is a tutorial page in the documentation, it lacks a step-by-step set of instructions to follow. Of course, this project gets more exciting as more scripts are written to easily startup these repos with a single click and I'll be following the project with anticipation.
If you're looking to get started with building your own here's a basic outline I found from a discussion in the Pinokio discord:
To find out how to do it, you can have a look at current pinokio scripts. they all work similar. Additionally check out the Pinokio tutorial (improved version will follow soon). A theoretical explanation how it works: To create Pinokio scripts, you needed to write an installerinstall.json, that automatizes all steps needed to make it run. It also needed apinokio.jsfile that displays the right buttons to install and start the application, open a tab in the browser on startup and add a server button to display all processes on the terminal. (This sounds maybe more complex as it is, since allpinokio.jsfiles work more or less the same way and you can almost copy paste the whole code, as long as you keep the names of the needed scripts the same. Basically these were the minimum scripts needed.
pinokio.js(displays the buttons and connects the according scripts with them)install.jsonor install.js (automatizes all installation steps)start.jsonor start.js (runs the app)session.json(only a configuration file for localhost and port number)icon.png(for a nice App icon in Pinokio)
As these scripts become more widely available, we're entering into a new era of bringing more humans into the loop of the latest technology. It's going to be a wild year.